I want to work on blogging about my work as a way to document the steps I’m taking to develop and launch a Domains initiative at Colgate. I’m devoting a lot of time this summer to playing around in my domain and the apps that are available through cPanel. This work is helping me prepare for possible future instructional consultations with faculty and students. On top of that, blogging about these activities serves as a way for me to get more familiar with WordPress.
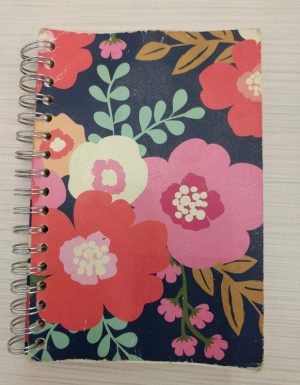
I decided to start with Omeka. I saw case studies of Omeka at the Reclaim Hosting Spring 2018 workshop and I left wanting to digitize a personal archive. Around the time of that workshop, I was close to filling up a small 4X6 notebook in which I had been keeping track of all of my Jazzercise setlists. This notebook had been where I kept records of the songs included in the set for each of my classes. This notebook is especially important to me because it includes all of the classes I had been teaching in my first few months after become certified. Plus, it was a pretty small archive, so it seemed like perfect collection to use to learn Omeka.
To digitize my collection, I started by using the CamScanner app on my Google Pixel phone to take pictures of each page in my notebook and organize them into a folder, which I then uploaded to Google Drive. Then I downloaded that folder to my local computer and renamed all the files according to the place (Cortland or Colgate) where I taught the class and the date or dates when I taught the set.
I began by reading the “Getting Started” section of the Omeka Classic User guide and made a really informal mental plan of what my site would be. I started by uploading the items one by one and filling in the metadata I thought was most relevant for (e.g. subject, creator, source). I uploaded 5 items this way, then realized it was a lot of boring busywork. So I looked through available Omeka plug-ins hoping to find some sort of bulk upload tool. Then I came across the CSV import plugin, which allows multiple items and their metadata to be uploaded all at once. A demonstration of how to create a CSV file to upload in order to use the plug-in brought me back to my teaching and research days.
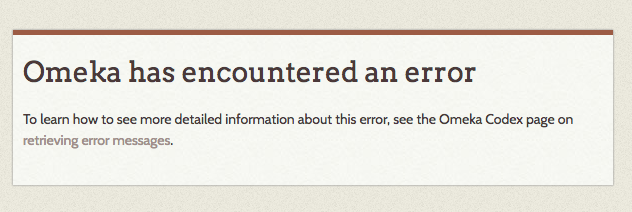
Selecting and installing plugin to use in Omeka was not as straightforward as in Word Press, but luckily Reclaim Hosting provided a helpful guide. I started to get nervous when the directions required me to use File Manager to get into the back side of cPanel. But knowing that I could just start over by installing a new instance of Omeka in my cPanel if I messed anything up gave me some comfort to just dive in and try. I followed those directions, the plug-in was installed correctly; I knew I had succeed because the plug-in appeared on the left hand navigation panel. But then the trouble started.
First I tinkered with where the files were saved; first they had been on my local computer, then I noticed from the Vimeo tutorial that they needed to be accessible via a public URL (I used links to the files saved in my Google Drive). Then in looking more closely at the documentation for the CSV import plugin, I tinkered with the column headings after realizing they had to be formatted so that they could be auto-mapped to elements i.e. the metadata categories available in Omeka (that Vimeo tutorial led me down the wrong path on that one).
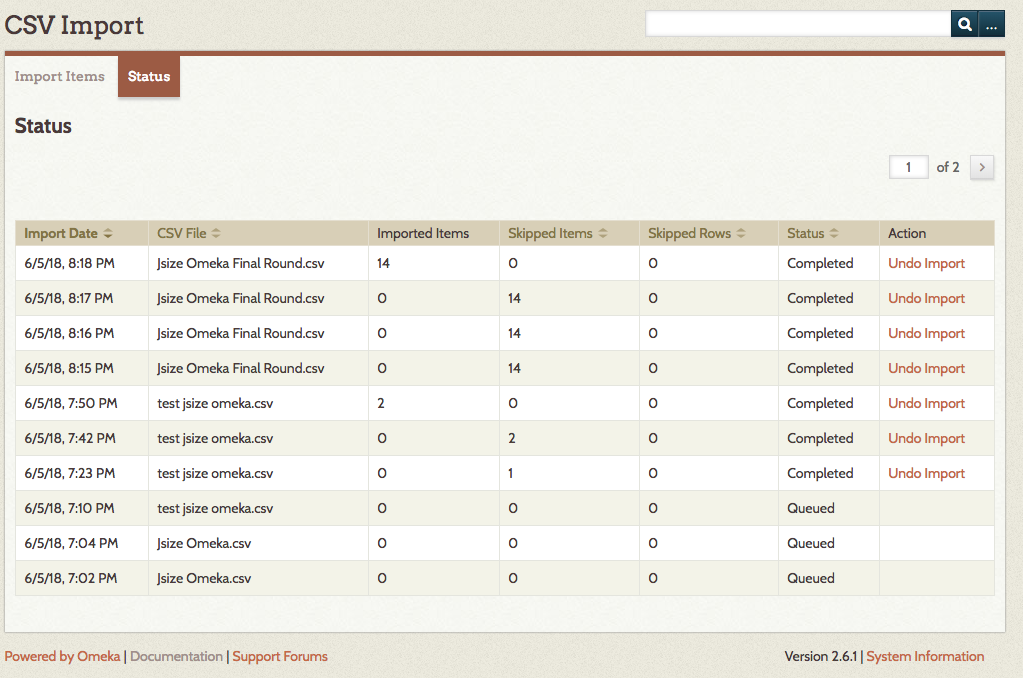
I wanted to start over with a new CSV file, this time with just 2 items with files links to Google Drive (they were made public) and with the correctly formatted column headings. I also tried adding the URL to the “item type metadata:url” field instead of “file” and eventually figured out that I had to select “Use HTML?” instead of “File?” 1.5 hours and a few different CSV files later (note: I also need to start over with a new file), I eventually got all of my items uploaded.
I noticed there no images or thumbnails attached to the image. In trying to fix that, I found these instructions helpful for generating and attaching thumbnails to each item. At some point, I also came across these directions which I followed to fix something; but I forget what issue I was having (and when) that prompted me to find that page (note to self: continue to work on documenting my steps as I play!).
In the end, I finally found success in getting all of my items up and displaying as I wanted them too. I created an “About” page using the Simple Pages plug-in that appears to have already been installed (similar to a static page in WordPress). I also created an “exhibition” and used a “gallery” block layout to display thumbnails of all of my setlist pages. I also played around with changing the appearance of the site, which helped me to turn of the blocks on content on the front page of my Omeka site that would have been redundant.
If I were to do this project again, I’m not sure I would do it in Omeka. It felt a little more clunky than WordPress and Omeka had a lot more tools than what I needed to create this small archive. But if I had a much larger archive and a desire to have visitors search through it using the extensive list of metadata fields in the Dublin Core Metadata Initiative, I do think Omeka would be appropriate.
Next up: playing with Scalar!